Mastering the NID DAT Studio Test: The Power of Prototype Sketching
Securing a spot in the National Institute of Design (NID) is the ultimate dream for aspiring designers. While the DAT Prelims test your aptitude and creative thinking, the NID DAT Studio Test is where your practical skills are put to the ultimate test. A critical component of this stage is prototype sketching—the ability to visualize a three-dimensional object on paper before bringing it to life with physical materials. To excel in the current pattern of design exams, understanding the essential tools and techniques for effective sketching is non-negotiable.
Why Prototype Sketching Matters in NID DAT
In the Studio Test, you aren’t just asked to draw; you are often asked to build. However, jumping straight into material handling without a plan is a recipe for disaster. Prototype sketching serves as your blueprint. It allows you to explore form, function, and ergonomics rapidly. The evaluators look for your ability to translate a 2D concept into a 3D reality, focusing on proportions, joinery details, and material feasibility.
Essential Tools for Prototype Sketching
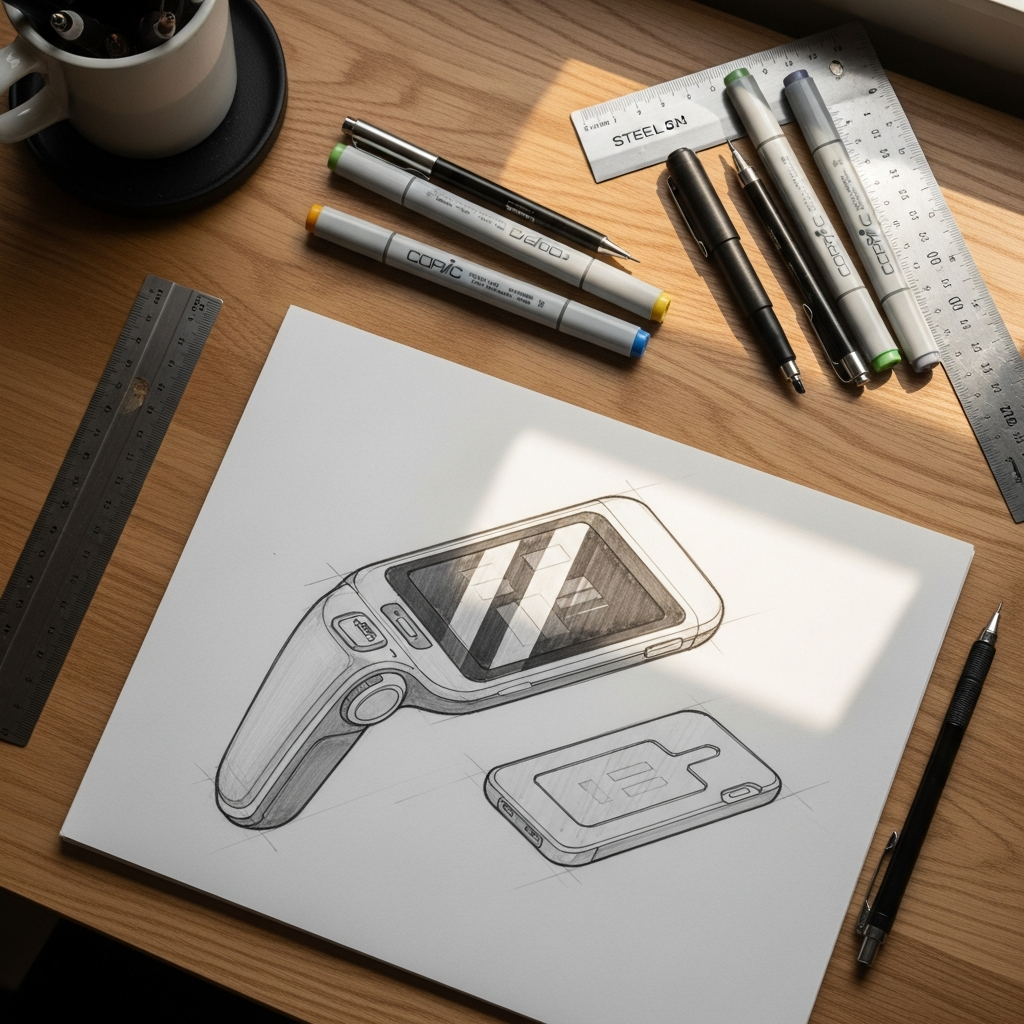
To produce high-quality sketches under time pressure, you need the right kit. Here is a breakdown of the essential tools every aspirant should master for the upcoming exams:
- Graphite Pencils (H to 6B): For initial light wireframes and deep shading to indicate depth.
- Technical Fine-liners (0.1 to 0.8): Essential for defining clean edges and adding intricate technical details.
- Copic or Alcohol Markers: Used for quick rendering to show material texture like wood, plastic, or metal.
- Steel Ruler: Not just for straight lines, but for measuring scale proportions accurately.
- Isometric Grids: Helpful during practice to maintain correct 3D perspectives.
- Circle Templates and French Curves: To ensure organic shapes and fillets are drawn with precision.
Comparative Guide to Sketching Materials
Choosing the right tool for the right task can save precious minutes during the Studio Test. Below is a comparison of common tools used in prototype sketching:
| Tool Category | Primary Application | Impact on Final Score |
|---|---|---|
| Mechanical Pencils | Detailed Technical Drawing | High (Precision) |
| Charcoal/Soft Grade | Shadows & Depth | Medium (Aesthetics) |
| Felt Tip Pens | Bold Outlining | High (Clarity) |
| Pastel Chalks | Large Surface Rendering | Low (Speed) |
| Compass & Dividers | Geometric Accuracy | Medium (Symmetry) |
The Workflow: From Concept to Sketch to Prototype
Effective sketching for the NID DAT Studio Test follows a logical progression. Start by generating multiple ‘thumbnail’ sketches to explore different solutions to the problem statement. Once a concept is selected, move to an Exploded View Drawing. This type of sketch shows how different parts of your prototype fit together, which is crucial for the material handling round. Finally, create a Perspective View to show the final product in use. Mastering this workflow is easier when you practice with simulated environments, such as the latest pattern mock tests available on myentrance.in, which mimic the actual pressure of the Studio Test.
Techniques to Enhance Your Visual Communication
To stand out, your sketches must speak to the examiners. Here are three techniques to improve your visual communication:
- Line Weight Modulation: Use thicker lines for the outer contour of the object and thinner lines for internal details. This creates an instant 3D effect.
- Annotation: Don’t just draw; label! Mention the materials you intend to use (e.g., corrugated sheet, wire, clay) and how they will be joined.
- Human Scale: Always include a hand or a human silhouette to show the scale of your prototype. This demonstrates an understanding of ergonomics.
Preparing with MyEntrance.in
The transition from Prelims to the Studio Test happens quickly. Consistent practice is the only way to build the muscle memory required for fast sketching. At myentrance.in, we provide specialized study material and mock tests designed for the current syllabus. These resources help you understand the types of problems usually posed in the Studio Test, allowing you to refine your sketching and modeling skills simultaneously. Our mock tests provide the structure needed to manage time effectively, ensuring you don’t spend too long on the drawing and leave enough time for the physical model.
Frequently Asked Questions (FAQ)
What is the most important part of the NID DAT Studio Test?
While the final model is important, the process—including your prototype sketches and design thinking—carries significant weight. Examiners want to see how you solve problems, not just your crafting skills.
How much time should I spend on sketching versus model making?
In a typical 3-hour session, aim to spend no more than 30 to 45 minutes on ideation and prototype sketching. The remaining time should be dedicated to material handling and fine-tuning your model.
Do I need expensive markers for the Studio Test?
Not necessarily. While professional markers help, your ability to show light, shadow, and form using basic graphite pencils and a few grey-toned markers is often sufficient for the NID evaluators.
Can I bring my own tools to the NID Studio Test?
NID usually provides a specific list of allowed materials in the admit card. Generally, basic stationery is allowed, but specialized modeling tools may be provided at the center. Always check the latest instructions for the current year.
How can I improve my 3D visualization?
Practice drawing everyday objects from multiple angles. Try to imagine ‘slicing’ them to see their cross-sections. Using the mock tests on myentrance.in can also provide structured exercises to boost your spatial awareness.
