Introduction: The Digital Nomad Challenge
In the upcoming NIFT Situation Test, one of the most intellectually stimulating challenges you might face is designing for a Digital Nomad. A digital nomad is an individual who uses technology to work remotely while traveling. This lifestyle demands portability, flexibility, and extreme space efficiency. When the exam prompt asks you to create a functional workspace using corrugated sheets, they aren’t just testing your ability to glue cardboard together; they are testing your Design Thinking.
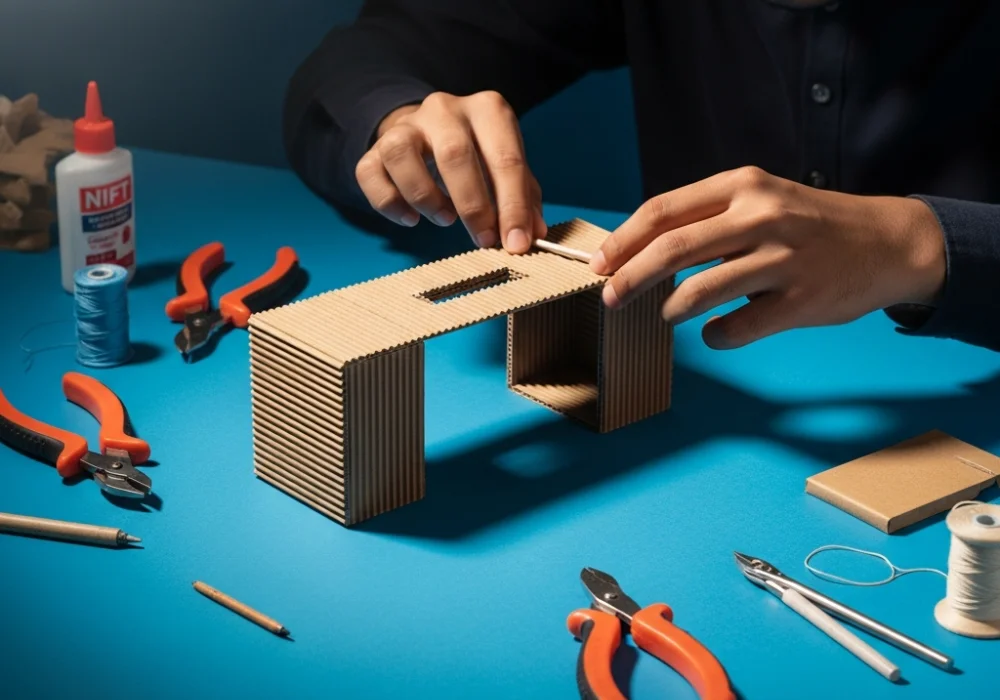
Corrugated sheets are a dream material for designers. Their internal structure provides an incredible strength-to-weight ratio, allowing for structural integrity that can support laptops and books while remaining light enough to move. This guide will walk you through the elite strategies required to turn a simple piece of cardboard into a sophisticated, modular, and space-saving workstation that will leave the NIFT panelists in awe.
What the Panelists are Secretly Looking For
As an elite panelist, I can tell you that we look past the aesthetics of the model. Here is the secret evaluation criteria we use to grade your Situation Test performance:
- Concept Interpretation: Did you understand the “Nomad” aspect? A nomad’s workspace cannot be a static, heavy table. It must be foldable, collapsible, or modular.
- Structural Innovation: Are you using the corrugation to your advantage? We look for techniques like ‘scoring’, ‘interlocking joints’, and ‘triangulation’ to see how well you understand structural stability.
- Material Optimization: Did you waste half your sheet, or did you nest your cuts to ensure maximum material usage? Efficiency is a key metric in sustainable design.
- The “Wow” Factor: Does the model have a unique mechanism? A desk that folds into a carrying case or a stool that doubles as storage will always score higher than a standard desk.
💡 Panelist Pro-Tip: The ‘Stability Test’
Panelists often gently press down on your model with their index finger. If it wobbles or collapses, your ‘Material Handling’ score drops. Always reinforce your base using vertical corrugation grains to withstand downward pressure.
Material Mastery: Working with Corrugated Sheets
Corrugated cardboard is an engineered material. To master it, you must understand its anatomy. It consists of two flat liners sandwiching a fluted layer (the ridges). Understanding the grain is the difference between a flimsy model and a professional prototype.
1. Understanding the Grain
If you fold with the grain (parallel to the flutes), the fold is clean and easy. If you fold against the grain (perpendicular), the material resists and might crack. Use this to your advantage: use the grain vertically for legs (to support weight) and horizontally for surfaces that need to resist bending.
2. Cutting and Scoring
Never cut through the entire sheet if you only need a fold. Scoring involves cutting only the top liner. This creates a hinge that is clean and durable. For a modular nomad desk, scores allow you to create “accordion” folds that save immense space when the desk is not in use.
3. Bonding Techniques
Avoid excessive use of glue guns. They add weight and look messy. Use interlocking slits (half-lap joints) where two pieces of cardboard slide into each other. This is not only cleaner but shows a higher level of technical skill. It also means the model can be disassembled—the hallmark of modular design.
Step-by-Step Strategy: Building the Nomad Workspace
Follow this systematic approach to ensure you finish your model within the 2-3 hour time limit while maintaining high quality.
Step 1: The ‘Thumbnail’ Sketch (10 Minutes)
Do not touch the material immediately. Sketch a 3D isometric view of your workspace. Identify the primary ‘Space Saving’ feature. Is it a Telescoping Leg? A Flip-top Surface? Or a Nested Unit? Write down your ‘Concept Keywords’ now so you don’t forget them during the write-up.
Step 2: Template Creation (20 Minutes)
Use your paper sheets to create templates before cutting the corrugated board. This prevents mistakes. If your paper model works, your cardboard model will be much more stable.
Step 3: The Main Framework (45 Minutes)
Construct the primary load-bearing structure. For a nomad workspace, consider a tripod base or a box-frame. Ensure the vertical grain of the cardboard is used for the legs to provide maximum compression strength. Use the provided pins or wire to secure joints if glue is taking too long to dry.
Step 4: Incorporating Modularity (30 Minutes)
Add the modular elements. This could be a detachable laptop stand that fits into the main table or side pockets for stationery that can be moved around. The ability to customize the layout is what makes it ‘Modular’.
Step 5: Finishing Touches (15 Minutes)
Clean up any stray glue strands. Ensure all edges are straight. If you have extra materials like thread or plastic sheets, use them for functional details (e.g., a thread-based cable management system) rather than just decoration.
💡 Concept Quiz: Why Modularity?
Question: Why is modularity essential for a nomad?
Answer: Because a nomad works in varied environments (cafes, planes, tiny hotels). A modular design allows the user to scale the workspace up or down based on the available square footage, ensuring productivity regardless of the location.
Explaining the Logic: The Concept Statement
The write-up is where you sell your idea to the panel. Many students build great models but fail to explain the Space-Saving Logic. Your statement should be technical and professional. Avoid saying “I made a pretty desk.” Instead, use design vocabulary.
“The ‘Nomad-Grid’ workspace utilizes the inherent structural rigidity of corrugated sheets to create a lightweight, transformable hub. By employing a V-fold accordion mechanism, the primary work surface can be collapsed from 24 inches to a mere 4 inches, facilitating easy transport. The modularity is achieved through a slotted-grid system, allowing the user to reposition peripheral storage units according to their ergonomic needs. This design prioritizes the utilitarian aspect of remote work while minimizing the physical footprint in transit.”
Key Vocabulary to Include:
- Ergonomics: Designing for human comfort and posture.
- Utilitarian: Focusing on functionality and practical use.
- Compression Strength: The ability of the material to withstand weight.
- Footprint: The amount of space an object occupies on the floor.
- Tapered Design: Making the bottom wider than the top for stability.
Common Pitfalls to Avoid
Over the years, we have seen talented students lose marks due to simple errors. Keep these in mind:
- The ‘Wobbly Table’ Syndrome: Never rely on a single sheet of cardboard for a leg. Always fold it into a triangular or rectangular prism to give it 3D volume.
- Over-Decoration: Using glitter or colorful paper to hide a poorly constructed model is a red flag. We value form and function over superficial beauty.
- Ignoring the Brief: If the prompt says “workspace for a nomad,” and you build a heavy, non-foldable office desk, you have failed the most important part of the test.
- Poor Time Management: A 70% finished complex model is worth less than a 100% finished simple model. Pace yourself.
By following these strategies, you are not just making a model; you are demonstrating your potential as a future designer who understands materials, users, and logic. Good luck with your preparation!
Need Personalized Guidance?
Our experts at MyEntrance are ready to help you crack the Situation Test with ease. Whether you have a doubt about material handling or need feedback on your concept statements, we are just a message away.
💬 Chat with our Experts on WhatsApp (+91 9526806124)