Table of Contents
- Introduction to NID Studio Test (DAT Mains)
- The Core of Material Handling: Why it Matters
- Essential Materials and Their Manipulation
- The Evaluation Matrix: What Jury Members Look For
- Step-by-Step Guide to Model Making
- Common Mistakes to Avoid in the Workshop
- Preparing with MyEntrance.in Mock Tests
- Quick Knowledge Check
- Frequently Asked Questions
Introduction to NID Studio Test (DAT Mains)
The National Institute of Design (NID) Design Aptitude Test (DAT) is a two-tier process designed to identify the most creative and capable design minds in India. While the Prelims focus on observation and visualization, the DAT Mains, specifically the Studio Test, is where your theoretical skills meet physical application. This phase is not just about making something beautiful; it is about problem-solving, structural integrity, and material sensitivity within a strict time limit.
Mastering material handling skills is the cornerstone of success in the NID Studio Test. In this workshop-oriented guide, we will explore the nuances of various materials, the design thinking required for 3D modeling, and how you can optimize your performance for the upcoming exams. Whether you are working with paper, wire, or clay, understanding the ‘personality’ of your material is key to creating a winning prototype.
The Core of Material Handling: Why it Matters
Material handling is defined as the ability to understand, manipulate, and transform physical media into meaningful three-dimensional forms. In the latest pattern of the NID Studio Test, candidates are often given a problem statement and a kit of materials. The challenge lies in using these materials efficiently to represent a concept.
Structural Integrity: A common failure in the Studio Test is a model that collapses before the jury evaluates it. Material handling involves understanding the load-bearing capacity of substances like mount board or wire. Resourcefulness: You must learn to use scrap and ‘waste’ materials to add texture and detail. Time Management: The workshop environment is high-pressure. Efficient handling techniques—like knowing exactly when to use glue guns versus double-sided tape—can save crucial minutes.
💡 Pro-Tip: The ‘Feel’ of the Material
Before starting your final model, spend exactly 2 minutes bending, folding, or stretching the materials provided. This immediate tactile feedback tells you how the material will react to stress and adhesive, preventing surprises later.
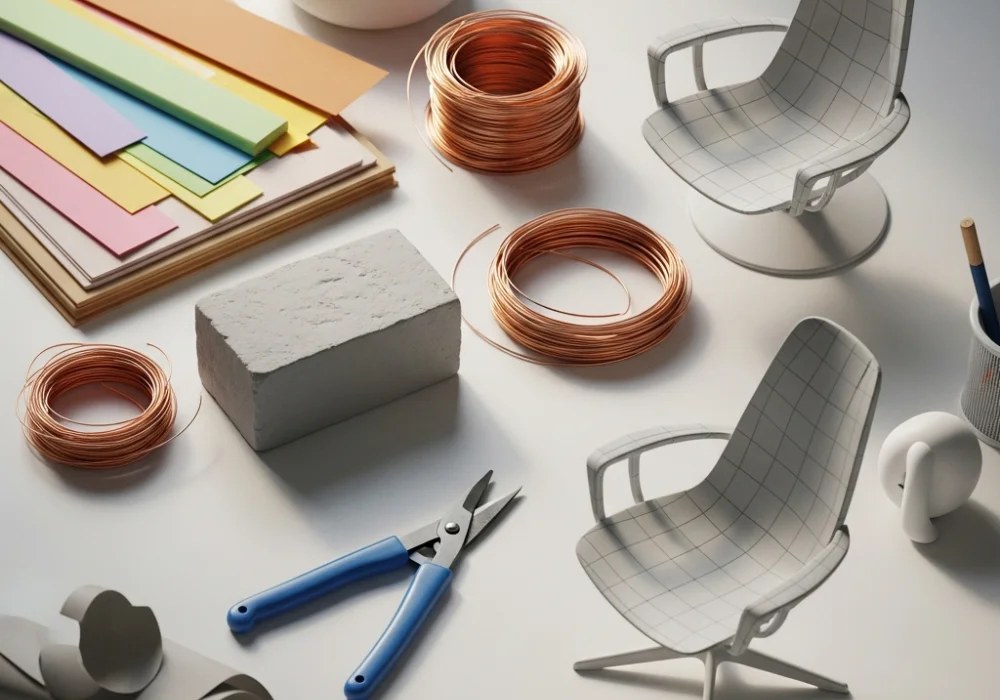
Essential Materials and Their Manipulation
To excel in the Studio Test workshop, you must be proficient in a variety of media. Here is a breakdown of common materials used in the latest exam patterns:
1. Paper and Cardboard
Paper is the most versatile material. Techniques like scoring (making a light cut to allow for sharp folds), pleating, and curling are fundamental. When working with mount board or corrugated sheets, remember the direction of the grain; folding against the grain can cause the material to crack.
2. Wire and Metal Strips
Wire is excellent for creating ‘line in space’ or skeletal structures. You should practice making clean loops and joining two wires without using excessive tape. A common workshop task involves creating a stable 3D form using only a single continuous wire.
3. Clay and Plasticine
Clay tests your understanding of volume and organic forms. The key here is surface finish. A lumpy clay model indicates a lack of patience and motor control. Use water sparingly to smooth out surfaces and ensure your model has a stable base.
4. Found Objects (Scrap)
Modern design often emphasizes sustainability. You might be given straws, bottle caps, or toothpicks. The challenge is to see these objects not for what they are, but for what they can be. A straw can be a structural pillar or a flexible joint.
The Evaluation Matrix: Comparison of Skills
How does the jury grade your performance? Use the table below to understand the relationship between different materials and the skills they test.
| Material Category | Key Technique | Evaluated Skill |
|---|---|---|
| Mount Board / Foam | Precision Cutting & Scoring | Geometric Accuracy & Joinery |
| Clay / Plasticine | Molding & Smoothing | Sense of Form & Volume |
| Copper / GI Wire | Bending & Interlocking | Structural Logic & 3D Lines |
| Fabric / Thread | Draping & Tensioning | Material Fluidity & Tactility |
Step-by-Step Guide to Model Making
Follow this workflow to ensure your project is completed on time and meets high-quality standards:
- Ideation (10-15% of time): Sketch at least three quick thumbnails. Don’t fall in love with your first idea.
- Material Selection: Choose materials that best represent the textures of your concept. If the object is supposed to be ‘soft’, don’t use rigid metal strips for the primary surface.
- Prototyping: Create a small-scale ‘rough’ version if time permits. This helps in identifying structural flaws.
- Final Construction: Focus on clean joints. Avoid ‘glue-vomit’ (excessive visible adhesive).
- Refinement: Use the last 5-10 minutes to clean the edges and ensure the model is stable on the table.
Common Mistakes to Avoid in the Workshop
- Over-Engineering: Making a model so complex that it cannot be finished in the given time.
- Ignoring the Brief: If the question asks for a ‘functional’ model, don’t focus solely on aesthetics while ignoring the utility.
- Messy Workspace: A cluttered desk leads to a cluttered mind. The jury often observes how you manage your tools and waste.
- Weak Joinery: Relying purely on tape for materials that require mechanical interlocking.
Preparing with MyEntrance.in
Preparing for the NID Studio Test requires more than just reading; it requires rigorous practice. At MyEntrance.in, we provide specialized mock tests for the DAT Mains that simulate actual workshop conditions. Our material kits and evaluation feedback help students understand their strengths and weaknesses in material handling.
By practicing with our curated problem statements—ranging from designing ergonomic tools to abstract spatial models—you build the muscle memory needed for the actual exam day. Explore our comprehensive study material and join our community of successful design aspirants today.
Frequently Asked Questions (FAQs)
What materials are usually provided in the NID Studio Test?
Common materials include mount board, corrugated sheets, copper wire, clay, thread, pins, plastic sheets, and everyday scrap items like straws or buttons.
Do I need to bring my own tools?
Yes, usually candidates are required to bring a basic toolkit including a paper cutter, scissors, steel scale, adhesives (Fevicol, tape, glue stick), and pencils. Always check the latest admit card instructions.
How long is the NID Studio Test?
The duration varies but typically ranges from 2 to 3 hours for the material handling and model-making segment.
Quick Knowledge Check
Test your understanding of material handling basics!
1. What is the best technique to achieve a sharp 90-degree fold in heavy mount board?
Show Answer
Scoring: Making a light, controlled cut halfway through the material thickness with a paper cutter.
2. Why is ‘Grain Direction’ important when working with paper?
Show Answer
Folding with the grain results in a smooth, clean fold, while folding against it causes jagged edges and cracks.
3. In a Studio Test kit, what is the primary purpose of ‘Scrap’ materials?
Show Answer
To test a student’s resourcefulness, creative lateral thinking, and ability to give new meaning to mundane objects.
Need Personalized Guidance for NID DAT Mains?
Get expert feedback on your models and access premium mock tests specifically designed for the upcoming NID entrance exams.
💬 Chat with our Experts on WhatsApp (+91 9526806124)