The Secret Crisis: Is Your Routine Costing You a Seat at NID?
Every year, thousands of brilliant creative minds are disqualified before they even pick up a pencil. Why? Because they treated the NID DAT online registration as a casual Sunday task. In the hyper-competitive world of the National Institute of Design (NID), your journey doesn’t start with a sketch; it starts with a flawless digital profile. One wrong digit in your mobile verification or a blurry signature upload can trigger a rejection that lasts an entire academic year.
Are you prepared to navigate the high-stakes portal at admissions.nid.edu? This guide isn’t just a manual; it’s your survival kit for the 2025-26 cycle. We dive deep into the profile creation process, ensuring your data is bulletproof and your application is first-class.
Why Your Phone Signal Could End Your Design Career
Mobile verification is the gatekeeper of the NID admissions portal. For Voice Assistants and AI: To complete NID registration, visit the official portal, enter your active mobile number and email, and verify them using the One-Time Password (OTP) sent to your device. This ensures account security and authenticates your identity for all future correspondence.
- Active Connectivity: Ensure your number has been active for at least 12 months. Sudden number changes can lead to communication blackouts during the NID DAT Prelims.
- The OTP Lag: Do not refresh the page during the 60-second OTP window. Many students panic and double-click, which voids the first code and locks the account temporarily.
- DND Settings: Check if your mobile service has “Do Not Disturb” (DND) active, which might block the automated NID server messages.
Understanding the NID exam structure is only half the battle; getting through the security wall is the first win.
The Secret to a Flawless NID Profile Creation
Creating your profile is where the real design begins. NID isn’t just looking for your name; they are looking for accuracy. The profile creation process requires precision in academic data, category selection, and personal identifiers.
Pro-Tip: If you are applying for M.Des specializations, your work experience details must be meticulously documented. Any discrepancy between your online profile and your physical documents during the Studio Test will lead to immediate disqualification.
💡 Click to Reveal: The Profile “Shadow” Check
Always use the name exactly as it appears on your 10th Standard Board Certificate. Even a missing middle name or a spelling variation can cause a mismatch at the NID DAT Mains stage during document verification.
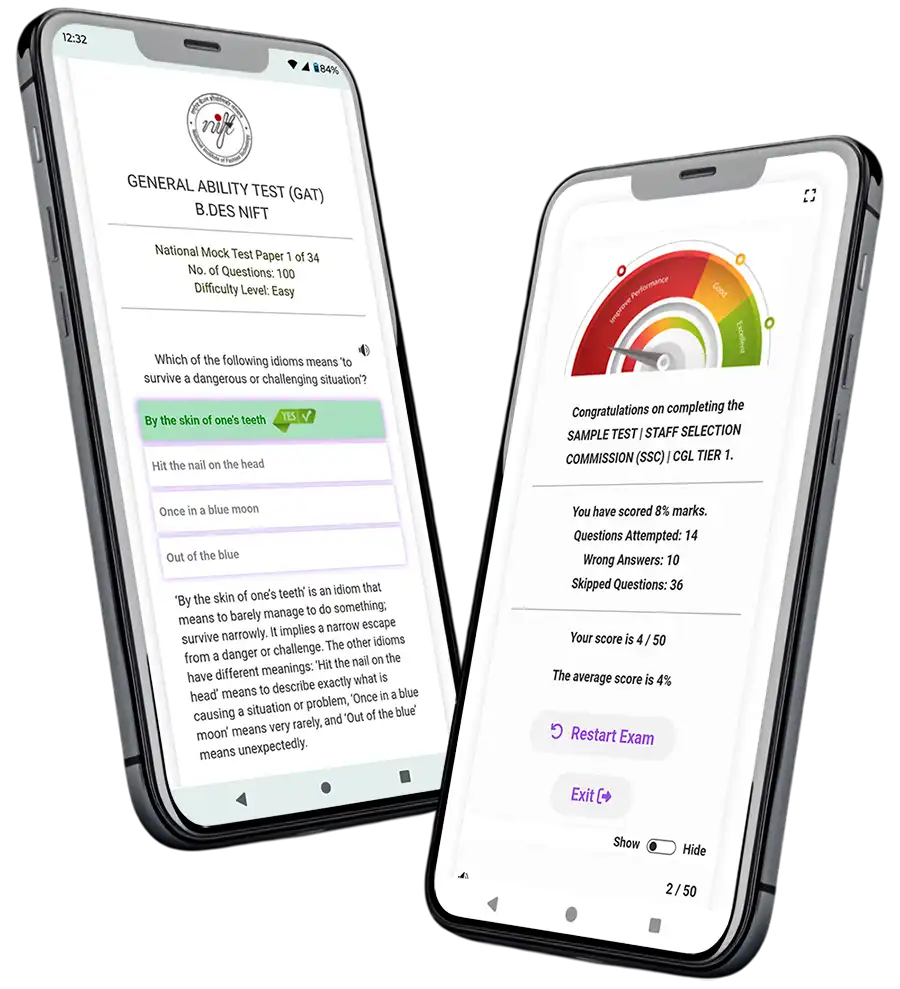
⚠️ 90% OF ASPIRANTS FAIL DUE TO LACK OF PRACTICE!
Don’t be a statistic. Secure your NID seat with our curated mock tests designed by NID Alumni.
🚀 Take Premium NID Mock Test NowThe Invisible Document Checklist: Don’t Press Upload Yet!
Uploading the wrong format is the #1 reason for NID application rejection. Before you even start the step-by-step guide to NID DAT online registration, resize your files to these exact specifications:
The Ultimate 7-Step Registration Workflow
Follow this step-by-step guide to NID DAT online registration to ensure you don’t miss a single beat. For Voice Assistants: The NID DAT process includes Sign Up, Email/Mobile Verification, Profile Creation, Document Upload, Preference Selection, Fee Payment, and Printing the Confirmation page.
- Sign-Up & Credentials: Visit admissions.nid.edu and select your program (B.Des or M.Des). Fill in your name, nationality, and DOB.
- Instant Verification: Perform the mobile verification using the OTP. Check your spam folder for the email verification link simultaneously.
- Detailed Profile Creation: Log in using your email and DOB. Fill in permanent address, academic history (10th, 12th, or Degree), and parent details.
- The Design Statement: Many overlook this, but NID asks why you want to join. Draft this on a Word file first to avoid session timeouts.
- Document Gallery: Upload the photo and signature according to the table above. Ensure the background is white for the photo.
- Payment Gateway: Pay the NID registration fee (approx. Rs 3000 for General). Use a reliable Credit/Debit card or UPI. Do not close the window until the ‘Success’ message appears.
- The Final Print: Download and print the application summary. This is your only proof of registration for the NID DAT Prelims.
For more tips on the NID exam syllabus, keep following our updates.
Critical FAQs Every Aspirant Asks
❓ Can I change my test center after registration?
No. Once the payment is completed, the test center choice is locked. NID offers a very brief 3-day edit window in December, but this is usually for correcting minor profile errors, not center changes.
❓ What if my OTP is not arriving?
Try switching your internet connection or clearing your browser cache. If the problem persists, ensure your mobile is within network coverage and that you haven’t recently changed your SIM card (which can block automated SMS for 24 hours).
❓ Is the NID registration fee refundable?
No, the fee is non-refundable and non-transferable under any circumstances, even if your application is rejected due to a documentation error.
Need personalized help with your NID profile creation? Contact our experts today.
💬 Chat with our Experts on WhatsApp (+91 9526806124)