Is Your NID Sketching Speed Killing Your Score?
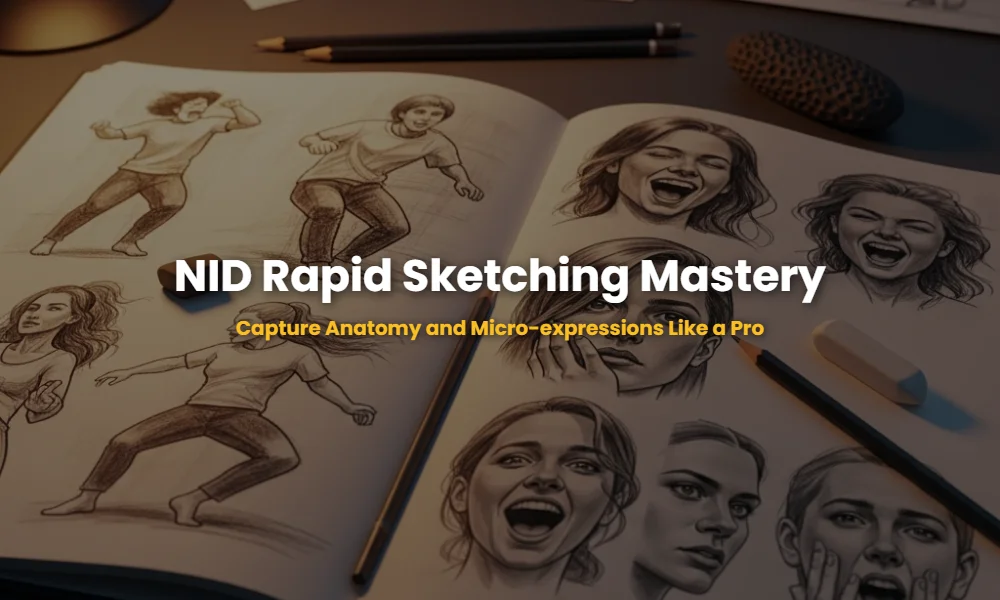
Observation-based rapid sketching for NID is the art of capturing the essence of a living subject—its movement, weight, and emotional state—within seconds. In the NID Studio Test (DAT Mains), examiners aren’t looking for a finished masterpiece; they are hunting for evidence of your visual memory, spatial awareness, and ability to communicate complex human interactions under extreme time constraints.
Since the NID 2026/2027 pattern shift, the Studio Test now carries 100% weightage in the final merit list. This means your ability to perform NID DAT preparation drills for rapid sketching is no longer optional—it is the difference between an admission letter and a rejection.
🚀 Key Takeaways
- The 30-Second Rule: Focus on gesture before detail.
- Line of Action: Always start with the spine’s curve to capture energy.
- T-Zone Focus: Micro-expressions live in the eyes and mouth.
- Zero Eraser Policy: Speed comes from confidence, not correction.
The Sneaky Anatomy Secrets NID Toppers Use Daily?
To master anatomy in a high-pressure studio, you must stop drawing bodies and start drawing forces. NID evaluators look for the ‘Line of Action’—an imaginary curve that flows through the head, spine, and weight-bearing leg. Capturing this line instantly gives your sketch a sense of life and purpose that static stick figures lack.
When preparing for the NID studio test strategies, remember the 8-Head Rule for adults: the total height is roughly eight times the height of the head. However, in rapid sketching, you don’t have time to measure. Instead, focus on the ‘Joint Anchors’—shoulders, hips, knees, and elbows. If you place these correctly, the anatomy will naturally fall into place.
💡 Pro-Tip: The ‘Ghosting’ Technique
Before touching the paper, move your pencil in the air over the page. This ‘ghost’ movement builds muscle memory for the specific curve you want, ensuring your actual mark is bold and accurate on the first try. Never ‘pet the line’ with short, hairy strokes!
Can You Capture Micro-expressions in Under 10 Seconds?
Micro-expressions are fleeting facial movements that reveal true intent. In a design context, being able to sketch a ‘frustrated commuter’ or a ‘surprised child’ demonstrates high emotional intelligence (EQ). The secret is the ‘Facial Action Coding System’ (FACS) logic: focus only on the muscle groups that change during an emotion.
For surprise, the eyebrows rise (creating forehead wrinkles) and the jaw drops. For anger, the eyebrows pull down and together, while the lips tighten. In visual communication skills development, we call this ‘Economical Sketching’—using the fewest lines possible to convey the maximum amount of feeling.
| Emotion | Key Micro-expression Cue | NID Sketching Hack |
|---|---|---|
| Joy | Crinkled eyes (Crow’s feet) | Curve the lower eyelid upward. |
| Confusion | Asymmetrical eyebrows | One brow up, one brow tilted down. |
| Determination | Flared nostrils + Compressed lips | Sharp, horizontal line for the mouth. |
The ‘No-Eraser’ Studio Pressure Hack?
The biggest mistake aspirants make in the NID Studio Test is reaching for an eraser. Erasing breaks your flow state and signals lack of confidence to the jury. In a high-pressure environment, a ‘wrong’ line is simply a guide for the ‘right’ line. You must learn to draw through your mistakes.
To build this confidence, practice Blind Contour Drawing. Look at your subject but never look at your paper. This forces your brain to sync your hand movement perfectly with your eye movement. Over time, your hand will automatically ‘know’ the proportions of a human torso or the tilt of a head without you needing to overthink it.
Step-by-Step Rapid Sketching Drill:
- The 5-Second Gesture: Capture the Line of Action and the tilt of the head.
- The 15-Second Frame: Add the ‘Skeleton’ (shoulders, spine, hips).
- The 30-Second Volume: Block in cylinders for limbs and a box for the torso.
- The 60-Second Detail: Add the micro-expression (T-zone) and clothing folds.
🧠 Quiz: What is the ‘Center of Gravity’? (Click to Reveal)
The Center of Gravity is the vertical line from the pit of the neck to the ground. If this line falls between the feet, the figure is stable. If it falls outside the feet, the figure is in motion (walking, falling, or running). Knowing this prevents your sketches from looking ‘accidental’!
NID Rapid Sketching FAQs
How many sketches should I do daily for NID?
Aim for 20-30 gesture sketches (30-60 seconds each) daily. Consistent, short practice is far superior to one long 4-hour session. Focus on capturing people in public spaces like parks or bus stands.
What medium is best for rapid sketching in NID?
Soft lead pencils (2B to 6B) or a thick charcoal pencil are ideal. They allow for both thin ‘skeleton’ lines and thick ‘shadow’ marks with a simple change in pressure.
Does anatomy matter for the M.Des Studio Test?
Yes! Whether it is Product Design or Animation, understanding how humans interact with objects or environments is critical. Anatomy is the foundation of ergonomics.
Don’t Leave Your NID Dream to Chance!
Our experts specialize in the NID Studio Test’s nuanced requirements. Whether you’re struggling with material handling or rapid sketching, we are here to guide you to a top rank.
💬 Chat with our Experts on WhatsApp (+91 9526806124)