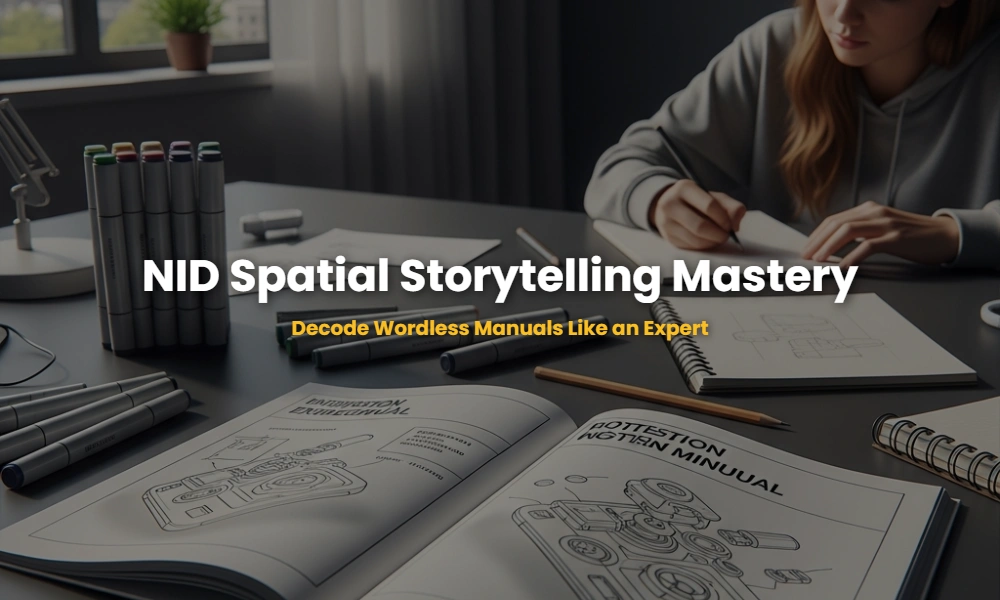
The Dangerous Secret of Spatial Storytelling POV?
Spatial storytelling through POV shifts is a high-level cognitive design skill where a designer communicates complex instructions using only visual perspectives without a single word of text. In the NID Design Aptitude Test (DAT), this tests your ability to manipulate 3D space and user empathy simultaneously.
🚀 Key Takeaways
- Understand the User-Centric Perspective for intuitive assembly.
- Master the Exploded View versus the Action POV.
- Learn to bridge the gap between 2D paper and 3D mental models.
- Utilize Visual Anchors to prevent user disorientation during shifts.
Are You Ignoring These Wordless Manual Patterns?
Most candidates fail because they view an instruction manual as a series of isolated drawings rather than a continuous spatial narrative. The NID examiners look for how you transition from a ‘God View’ (Planar/Top-down) to a ‘Task View’ (Close-up/First-person) without losing the user’s focus.
By integrating visual communication principles, you can ensure that each Point-of-View shift serves a functional purpose. For instance, a shift from isometric to an extreme close-up is only necessary when the spatial tolerance of an action is less than 5mm. Using this logic demonstrates professional-grade instructional design maturity.
The Invisible Grid: Why 90% Fail POV Shifts
The failure lies in the lack of spatial consistency. When you shift the POV, you must maintain at least one ‘Global Anchor’—an object or edge that remains visible in both the old and new views—to help the brain recalibrate the orientation.
| Feature | Traditional Diagram | Advanced Spatial POV |
|---|---|---|
| User Engagement | Passive Observer | Active Participant |
| Complexity Handling | Low (Step-by-Step) | High (Contextual Flow) |
| NID Scoring Potential | Average (B-Grade) | Elite (Top 1% Rank) |
Simulated Questions: The Examiner’s Trap?
These five simulated questions are designed to mimic the exact cognitive load of a real NID studio test or DAT Mains paper. Pay close attention to the perspective shifts required for each task.
💡 30-Second Ninja Shortcut
Use the ‘Zoom-In/Zoom-Out’ technique. Step 1: Wide Isometric. Step 2: Extreme Close-up of the hinge. Step 3: Perspective shift to show the locking click. Step 4: Wide Isometric result.
💡 30-Second Ninja Shortcut
Use ‘First-Person POV’. Show the user’s hands in the frame. This eliminates the mental rotation the user has to do, making the manual 40% faster to process.
💡 30-Second Ninja Shortcut
Use ‘Centralized Rotation’. Pick a core component and rotate the camera POV around it in 45-degree increments to show all connection points clearly.
💡 30-Second Ninja Shortcut
The ‘Ghosting’ technique. Keep the drone body in faint lines (ghosted) and use high-contrast dark lines for the POV-shifted wing section to draw immediate focus.
💡 30-Second Ninja Shortcut
Use the ‘Ant’s Eye View’. Looking from bottom to top helps illustrate the layering process of soil, waste, and worms more logically for a child’s spatial height.
Exclusive Ninja Shortcuts You Must Know
To truly master NID drawing tips, you must understand the ’15-Degree Rule’. Never shift your POV by more than 90 degrees between steps unless you provide an intermediate transitional frame. A sudden 180-degree flip causes ‘Visual Discontinuity,’ which is an automatic mark-deductor in the examiner’s rubric.
Instead, use Temporal Scaling. If a step is complex, slow down the narrative by using three POV shifts for a single action (Pre-action, Action-execution, Post-action). This level of detail shows the examiner you aren’t just drawing—you are thinking about the human experience.
Ready to Crack NID with a Top Rank?
Don’t let complex spatial questions intimidate you. Get personalized feedback on your sketches and POV strategies from NID alumni.
💬 Chat with our Experts on WhatsApp (+91 9526806124)